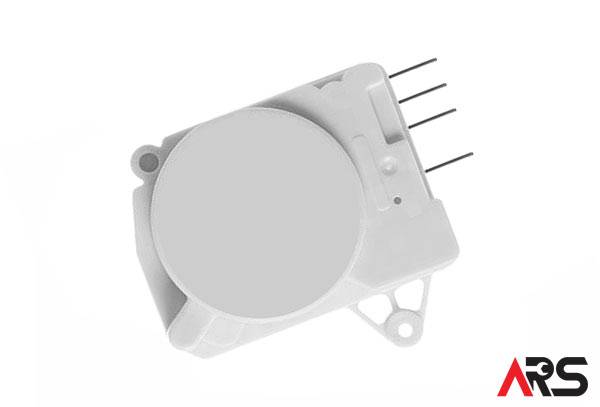
Common Symptoms of a Failing GE Main Control Board
- Fresh food and freezer both warm or temperatures drift without reason
- Evaporator or condenser fan will not run, runs erratically, or starts then stops
- Compressor does not start, clicks repeatedly, or short cycles
- Unit is completely dead even with a known-good outlet and house power
- Burnt spot, swollen component, or electrical odor on the old board
Before You Begin
- Safety first. Unplug the refrigerator. Turn off any connected water supply. Pull the unit straight out for safe rear access.
- Static protection. Use an ESD wrist strap if available and handle the new board by the edges only.
- Tools. 1/4 inch nut driver, Phillips screwdriver, needle-nose pliers, flashlight, phone for connector photos. A multimeter helps confirm power and fan outputs.
- Reference. For model-specific diagrams, see GE Appliances refrigerator support. For electrical safety basics, review the CSA electrical safety tips.
Quick Checks Before Replacing the Board
- Confirm wall power. Test the outlet with another appliance. Inspect the power cord for damage.
- Listen for fans. With power applied, many models will run the condenser fan at startup. No fans and no display often point to the board or incoming power.
- Inspect wiring. At the rear, look for chewed, pinched, or corroded harnesses. A broken harness can mimic a bad board.
- Look for board damage. Remove the rear cover and inspect the control. Burnt or cracked components are a strong indicator.
Step-by-Step: Replace GE Main Control Board WR55X10942
- Unplug the refrigerator and turn off the water supply valve if present.
- Remove the rear lower access panel by taking out the nine 1/4 inch hex screws. Set the panel aside.
- Take clear photos of the control board and each connector for reference. Label harnesses if needed.
- Using needle-nose pliers, pull each wire connector straight off the board. Do not twist the pins. Disconnect the ground strap or eyelet.
- Release the four plastic locking tabs and lift out the old board. Avoid flexing the cabinet bracket.
- Position the new board over the mounting tabs and snap it into place evenly.
- Reconnect all harnesses firmly until they seat. Reattach the ground eyelet so the cover screw will secure it to chassis ground.
- Reinstall the rear access panel with all nine screws. Verify that no wires are pinched.
- Restore water supply, plug the unit in, and allow the refrigerator to power up.
After Installation
- Wait for stabilization. Temperatures typically normalize within 12 to 24 hours. Place a thermometer in each compartment to verify.
- Check fans and compressor. Confirm that the condenser fan runs and that the compressor hums smoothly without repeated clicking.
- Defrost test. If frost previously built up, monitor for normal automatic defrost over the next day.
- Coils and airflow. Clean the condenser coils and ensure rear grille and toe-kick are not blocked.
Programming and Compatibility Notes
Most replacements for WR55X10942 are plug-and-play. Some model families require following the included instruction sheet to match a personality setting, move a jumper, or verify a thermistor harness. Always compare the new board’s instruction insert with your refrigerator model number and follow any additional steps provided in the kit.
When the Board Is Not the Fix
If cooling is still poor after replacement, consider a failed fan motor, open thermistor, sealed system problem, or incoming power issue.
Professional Service
Prefer a guaranteed repair with proper diagnostics and OEM parts? Start with our refrigerator repair service, or browse all appliance repair services if you are troubleshooting multiple units.
FAQ
What are the classic signs of a bad GE main control board?
Both sections warm, fans not running, compressor never starts, or obvious board damage. Intermittent operation that improves after unplugging for a few minutes is also common.
Do I need to program WR55X10942 after installation?
Many models are plug-and-play. Some require a jumper or personality selection per the instruction sheet in the box. Always follow the insert for your exact model.
How long until my fridge cools normally after replacing the board?
Plan on 12 to 24 hours for both compartments to reach set temperatures, depending on room conditions and food load.
Can a bad thermistor or fan make the board look bad?
Yes. Open sensors or failed fans can prevent normal cooling and may lead you to suspect the board. If in doubt, test components or have a technician diagnose before replacing parts.
Need help today Book refrigerator repair or call 866-415-3937. We service Toronto, the GTA, and surrounding communities with professional diagnostics and genuine parts.

ARS Appliance Repair Service has been trusted across Toronto, Ottawa, and Southern Ontario for over a decade. Our licensed, manufacturer-authorized technicians specialize in repairing all major household and commercial appliances with genuine parts and warranty-backed service. From refrigerators and washers to ovens, dishwashers, and more, we restore appliances quickly, professionally, and correctly the first time, earning the confidence of homeowners and businesses throughout the region.


